CREATING A NEW TRANSACTION
In this tutorial, you will learn how to create a transaction as a professional user.
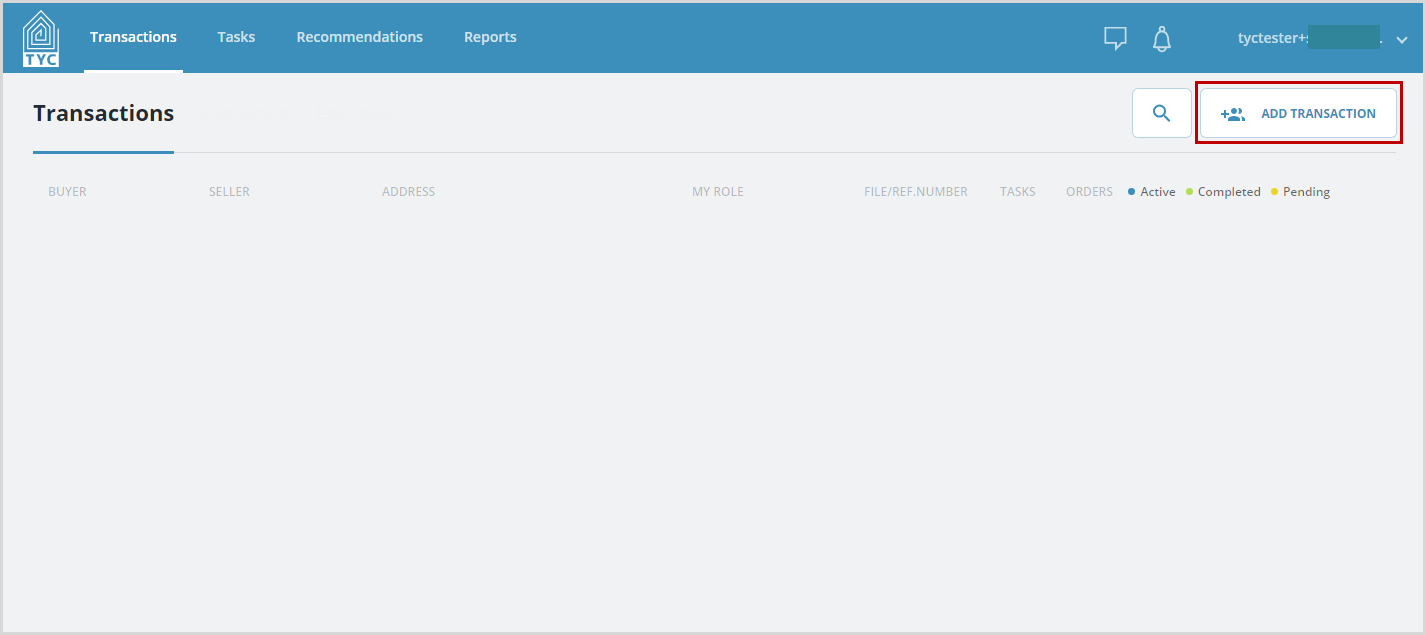
From your transactions tab select the "Add Transaction" button:
Select or enter in the appropriate information in each of the fields: "Property Type", "My Role", "Transaction Type", "File Number", "Financing Type", "Transaction Status", "Purchase Price", "Loan Amount" (if Mortgage), "Address", "Address 2", "City", "State", "Zip Code", "County", "PIN"(s).
Then click "Continue" to proceed to the next step, or "Cancel" to exit. You may optionally also click "Finish" to create your transaction with basic information, in which you can revisit it later (to place orders, etc).

Next, on Step 2, you may add the buyer and/or seller role(s).
If you click "Finish", it will save your entries as long as the required fields (marked with a *) were filled in. Click "Continue" to proceed to the next step:

In Step 3, any of your existing Favorite Users will be pre-filled in their appropriate role type. At this point, you may add other Transaction Participants by selecting a global role and searching for the participant. You can also Add Users as Favorites at this time. When done adding participants, click "Continue":

On Step 4, you may place one or more orders with your choice of vendor. You may choose or add a vendor participant within the drop-down:

Lastly, select from their services, select a due date (optional), and click "Finish". You may also add more orders with the same or other vendors at this time by clicking "Add Another Order":

Your order(s) will be placed and you will be brought to your main transactions list.
0 Comments